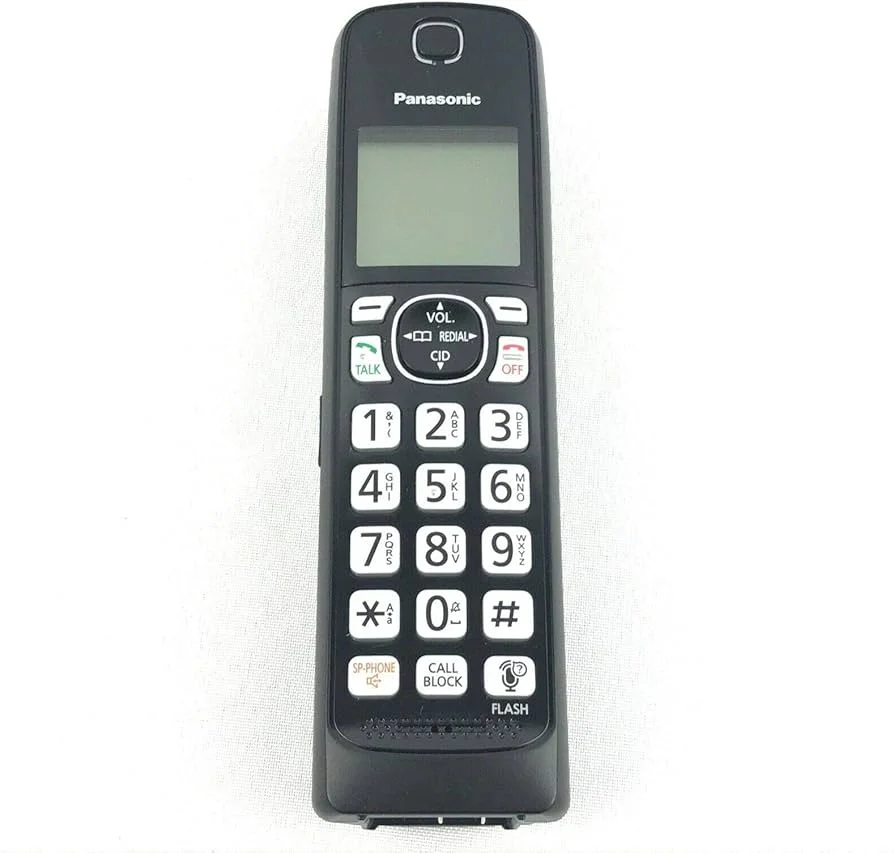
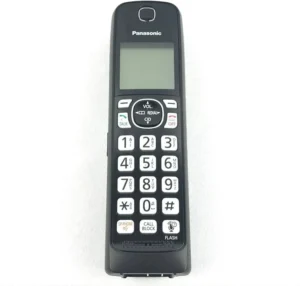
The Panasonic KX-TGD560 series is a popular set of cordless phones, known for its impressive features like enhanced sound quality, noise reduction, and call-blocking capabilities. However, like any electronic device, the handsets may eventually wear out, malfunction, or require a replacement. If you’re dealing with an unresponsive handset, a broken screen, or just need an additional handset for your Panasonic KX-TGD560 base, this guide will walk you through the steps to find a Panasonic KX-TGD560 handset replacement.
In this article, we’ll discuss how to replace a Panasonic KX-TGD560 handset, what to look for when purchasing a new one, and what you need to know to get the most out of your replacement.
Why You Might Need a Panasonic KX-TGD560 Handset Replacement
Your Panasonic KX-TGD560 handset can fail for a variety of reasons. Here are the most common ones:
- Battery Failure: Over time, the rechargeable batteries in cordless phones begin to degrade. If the handset won’t hold a charge or loses power quickly, it could be due to a dead battery.
- Button Malfunction: If the buttons on your handset are unresponsive or sticky, it may be time for a replacement. Overuse or spills can cause this type of damage.
- Screen Issues: Cracked or dim screens can make it difficult to see the caller ID or navigate the phone menu.
- Loss of Connection: Sometimes, the handset can lose connection to the base, especially if the internal circuitry is damaged or malfunctioning.
What to Consider When Replacing Your Panasonic KX-TGD560 Handset
When searching for a Panasonic KX-TGD560 handset replacement, there are several factors to keep in mind:
Compatibility
Ensure that the replacement handset you are purchasing is compatible with the Panasonic KX-TGD560 system. While Panasonic KX-TGD560 is part of a family of phones, different models might have varying compatibility depending on their firmware or base unit design. You’ll need a handset that can sync with the base unit of your existing system.
- Check the Model: Confirm that the replacement handset is designed specifically for the KX-TGD560 or a model in the same series (e.g., KX-TGD562, KX-TGD563).
- Frequency Range: Most Panasonic cordless phones work within the DECT 6.0 frequency range. Make sure the replacement handset also operates on the same range for seamless functionality.
Features
Panasonic’s KX-TGD560 series boasts several notable features that you’ll want in a replacement handset, including:
- Noise Reduction: Panasonic’s noise reduction technology ensures clear calls, especially in noisy environments.
- Large Display: The handset offers a large LCD screen, making it easier to read caller IDs, texts, and menus.
- Call Blocking: Some models in the KX-TGD560 line feature call-blocking capabilities, which allow users to block up to 250 unwanted callers.
- Backlit Keys: The backlit keys make dialing easier in low light conditions.
When choosing a Panasonic KX-TGD560 handset replacement, ensure that it includes these core features for consistency and convenience.
Cost
Panasonic handsets vary in price depending on the model and where you purchase them. Prices generally range from $30 to $50 for individual handsets. If you’re buying from a third-party seller or a retailer offering refurbished models, the price may be slightly lower.
How to Set Up a New Panasonic KX-TGD560 Handset
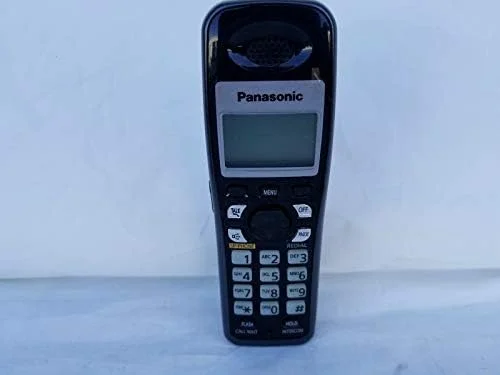
Once you have your Panasonic KX-TGD560 handset replacement, it’s time to pair it with your existing base unit. The process is straightforward but requires a few simple steps:
- Install the Battery: If the handset comes with a removable battery, ensure that it’s properly inserted before starting. Make sure the contacts are aligned correctly.
- Place the Handset in the Base: Put the replacement handset in the charging cradle of the base unit. It’s essential to charge the handset fully before use.
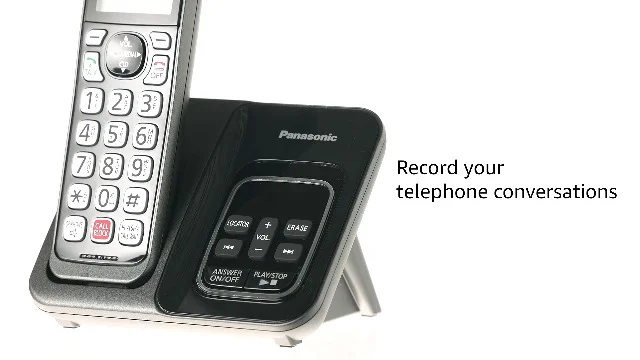
- Pairing the Handset: After charging, press and hold the “Locator” button on the base unit for 3 seconds. Then, press and hold the “Find Handset” or “Register” button on the new handset for about 5 seconds. The handset and base will sync, and the pairing process will complete in a minute or two.
- Test the Handset: Once the pairing is complete, test the handset by making a call or checking the menu functions. Ensure that the volume, display, and buttons are working as expected.
Panasonic KX-TGD560 Handset Replacement: Battery Issues
If your Panasonic KX-TGD560 handset isn’t holding a charge or doesn’t power on, the problem may lie with the battery. Fortunately, you can replace the rechargeable battery inside the handset to restore its functionality.
How to Replace the Battery:
- Locate the Battery Compartment: On the back of the handset, there should be a battery compartment that can be opened by removing a small cover.
- Remove the Old Battery: Gently disconnect the old battery by pulling the tabs on the connectors. Remove the battery carefully.
- Insert the New Battery: Insert the new battery, ensuring that the connectors are aligned correctly. The battery is usually a standard Ni-MH rechargeable type, which can be easily found online or at local electronics stores.
- Close the Compartment and Charge: Once the new battery is in place, close the compartment and place the handset back into the base unit for charging.
Conclusion
If your Panasonic KX-TGD560 handset is no longer functioning as it should, replacing it may be the best solution. From compatibility and features to battery replacement and setup, knowing how to properly replace the handset ensures that your Panasonic cordless phone system continues to work efficiently.
Remember to check compatibility with your existing base unit and make sure you’re getting a handset with the same core features you loved in your original. By following the setup steps and replacing the battery when needed, you can extend the life of your Panasonic KX-TGD560 system.
Are you ready to get your Panasonic KX-TGD560 system up and running again with a new handset?

